


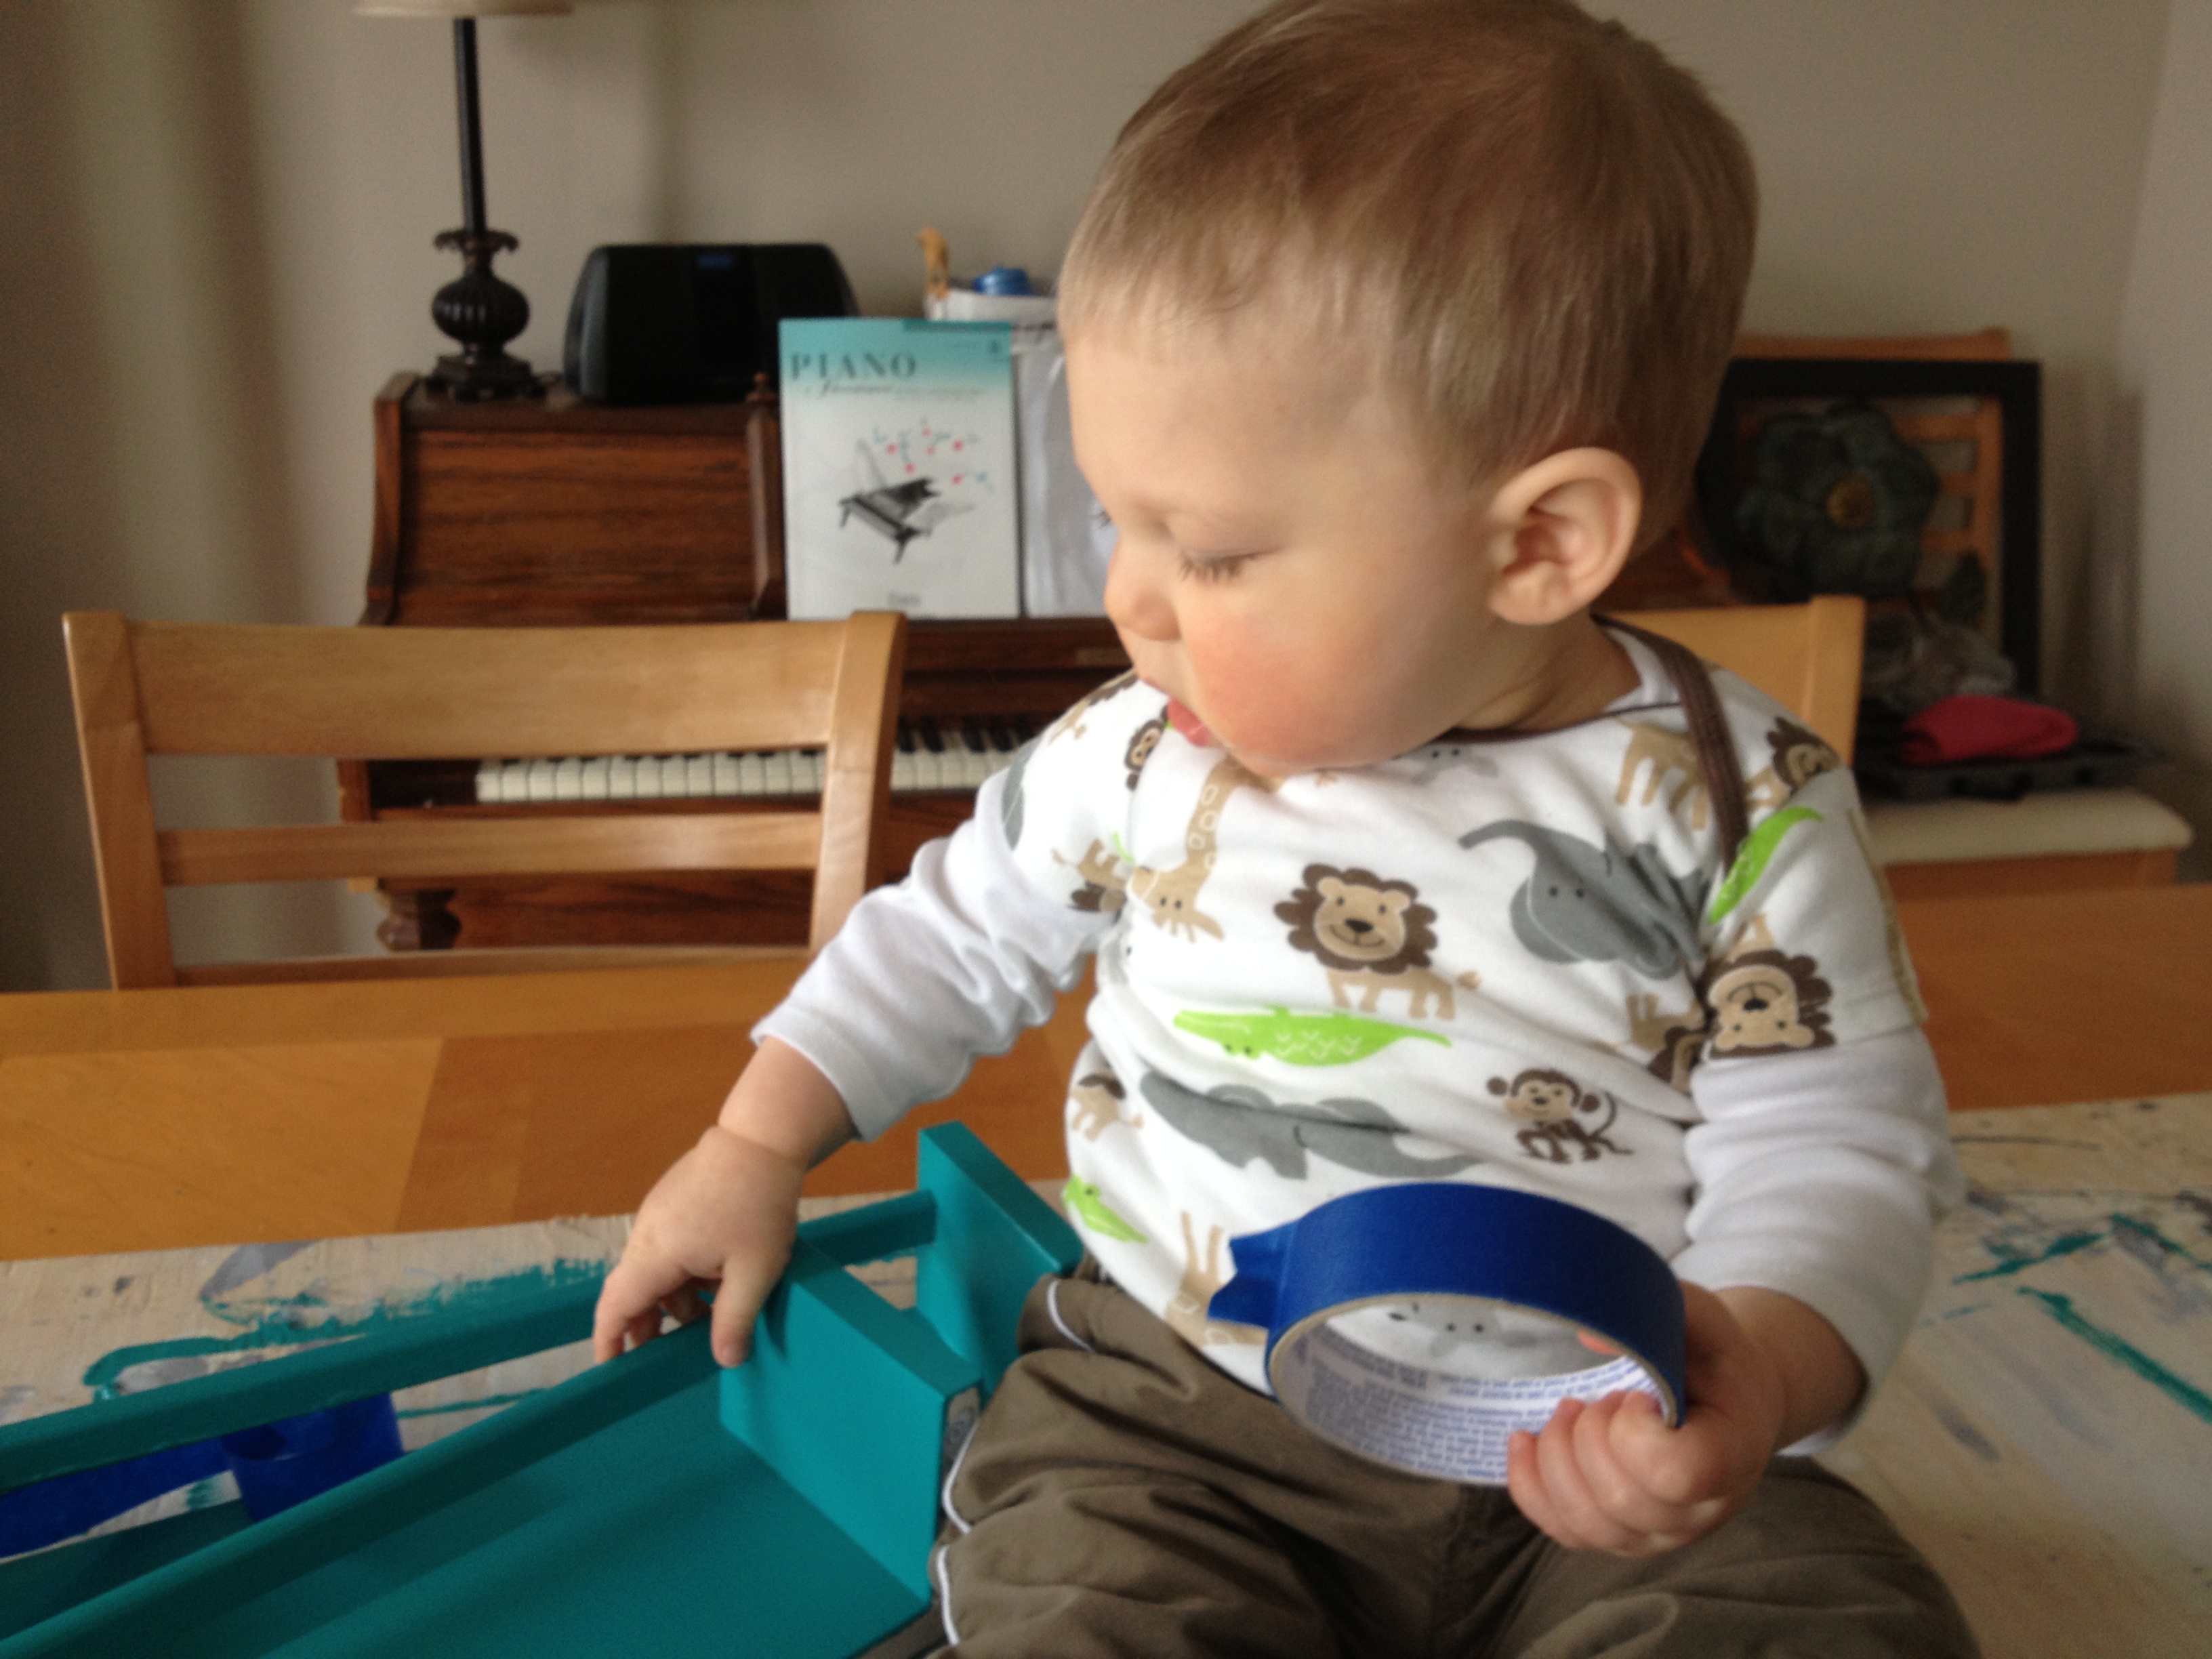
I strongly dislike trying to hang pictures that need two holes made to hang them. Last week I finished painting Ikea spice racks to make bookshelves for our son’s nursery. Unfortunately, they have two holes in order to hang them.
In years past, I have tried the toothpaste trick: marking the holes with toothpaste and then pressing the frame into the wall. I still never got it right! I didn’t place it on the wall properly. The toothpaste would get smudged. There was too much or too little. It just frustrated me.
A couple months ago I was hanging some wall decor and I was faced with this dilemma. Finally, I dug out some painters tape. It worked like a charm! Here’s how you can do it…
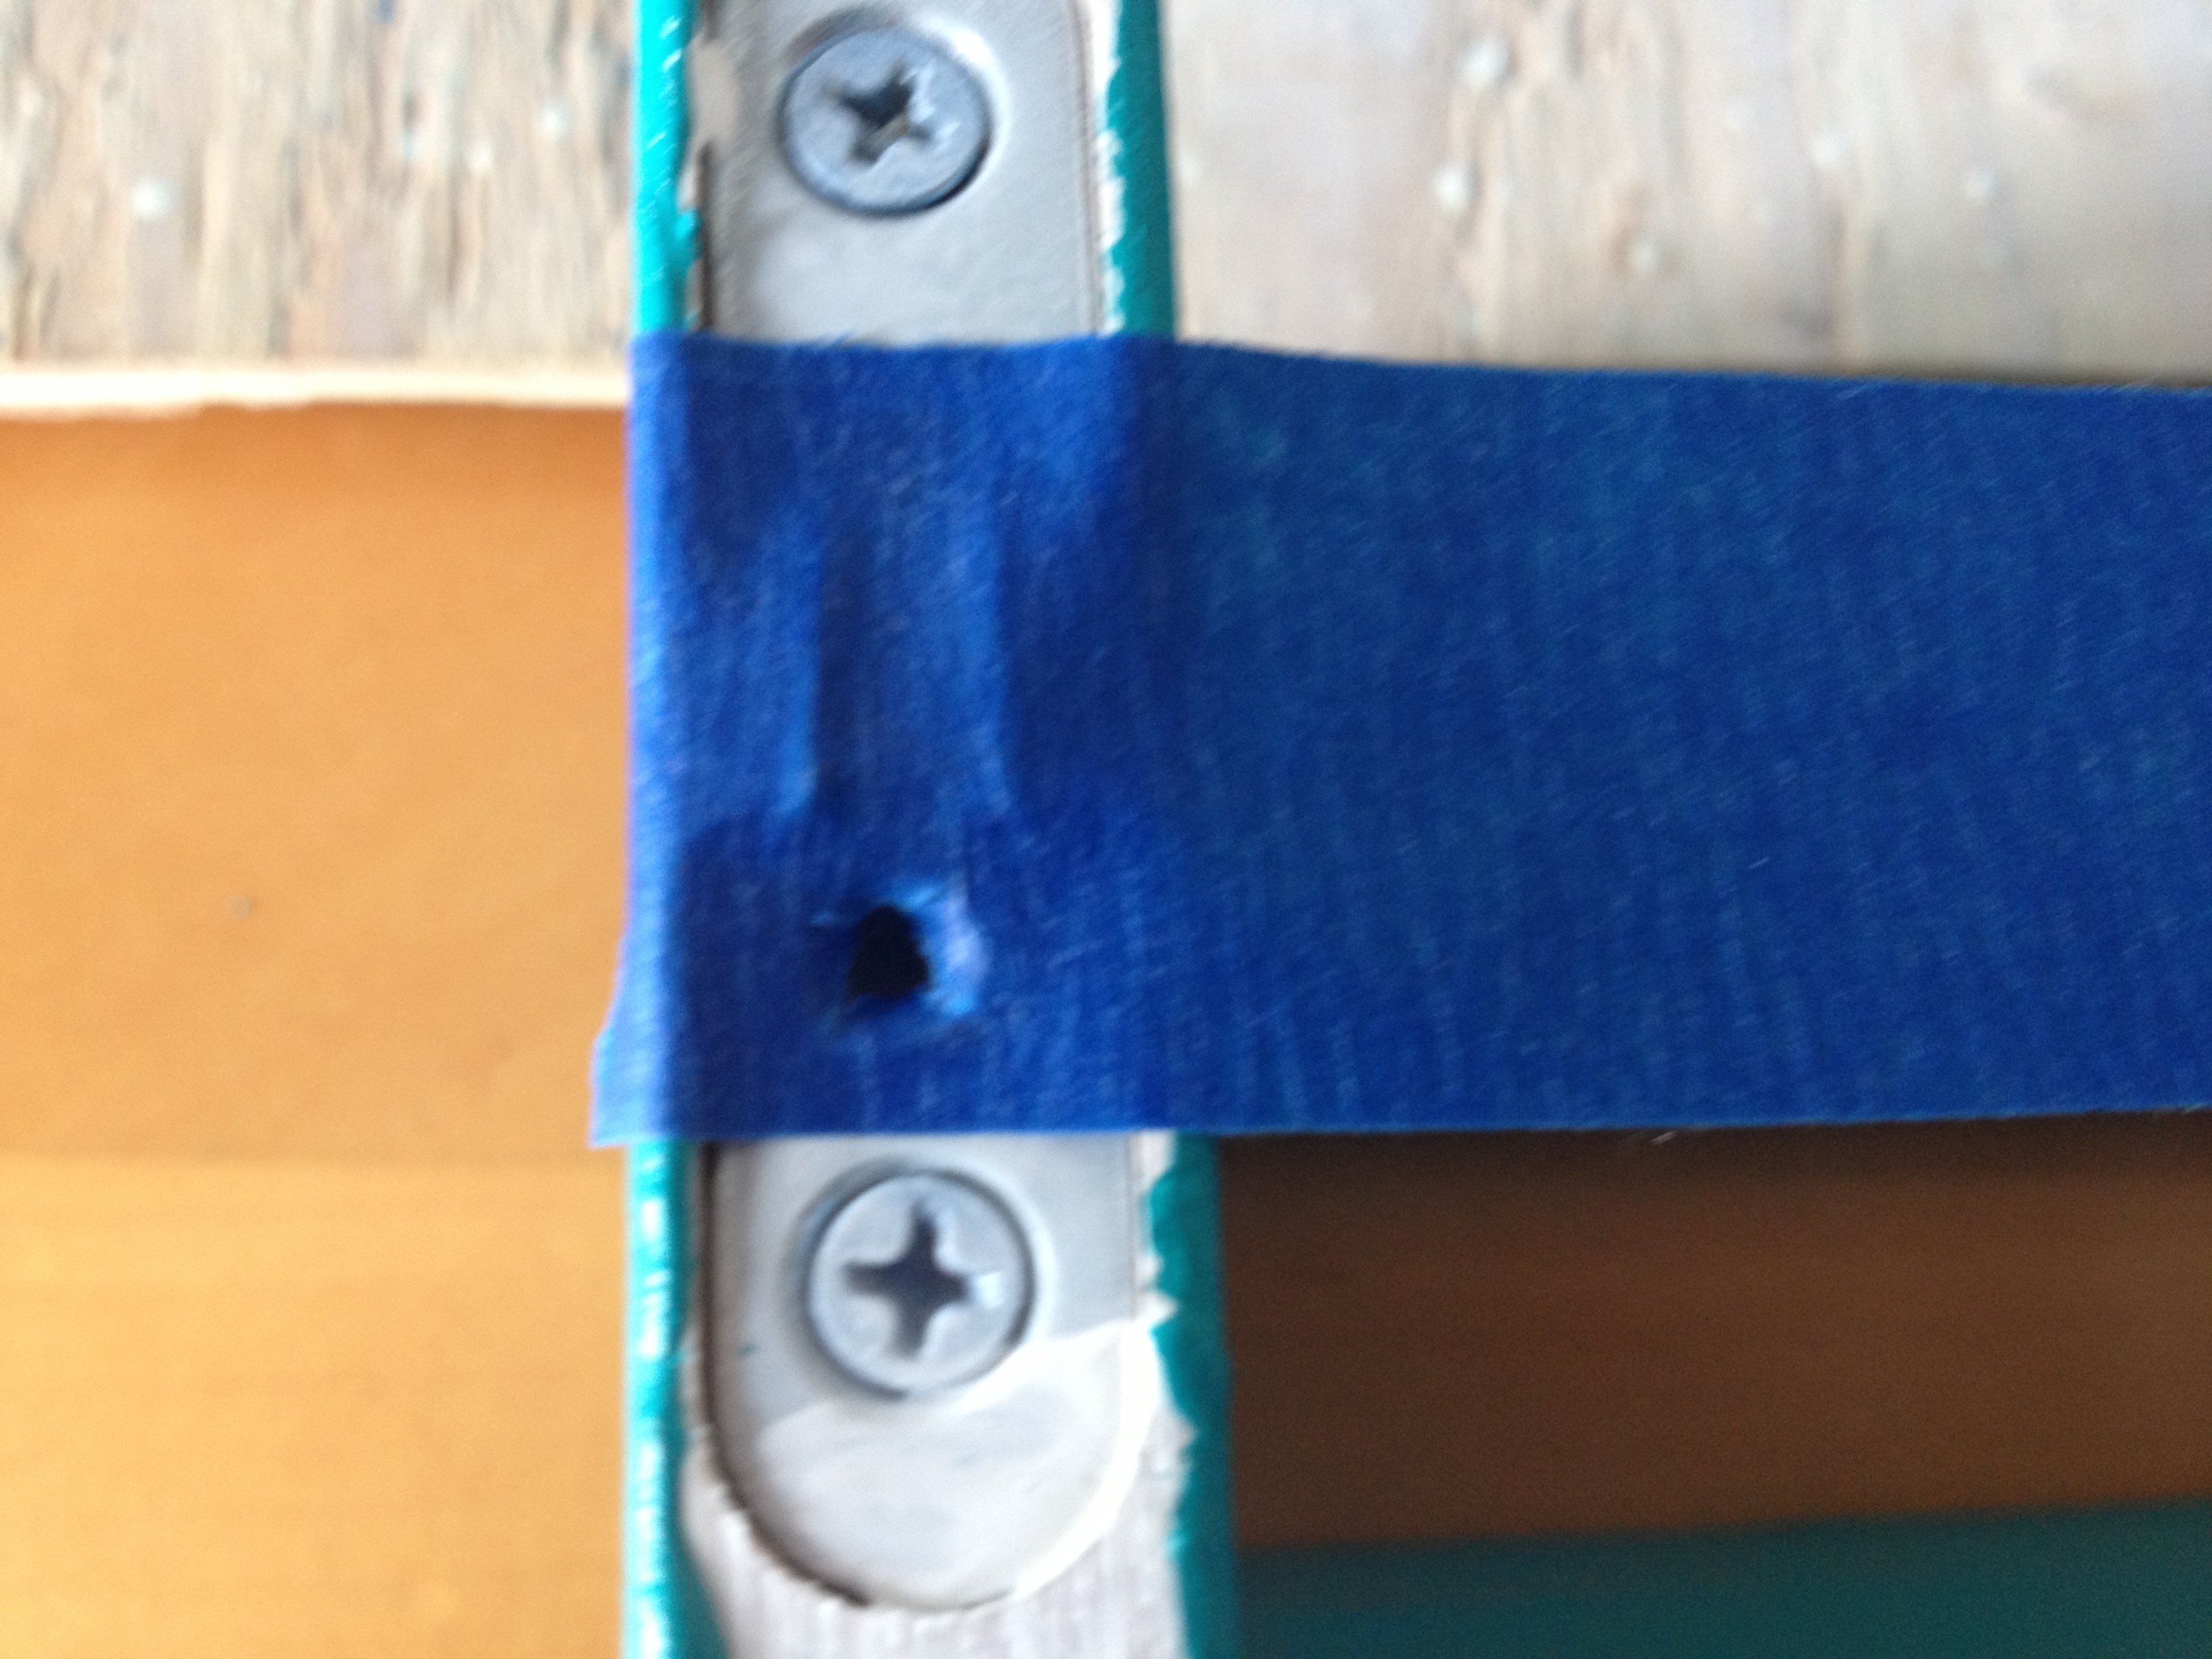
1. Take the tape and make a strip from one hole to the other. (My little guy kept removing the tape, so I didn’t get a picture of this part!)
2. Using the tip of a pen (or something with a sharp tip), punch a hole where the screw hole is.
3. Place the tape strip where you want on the wall. Then mark where the hole needs to be drilled with a pen.
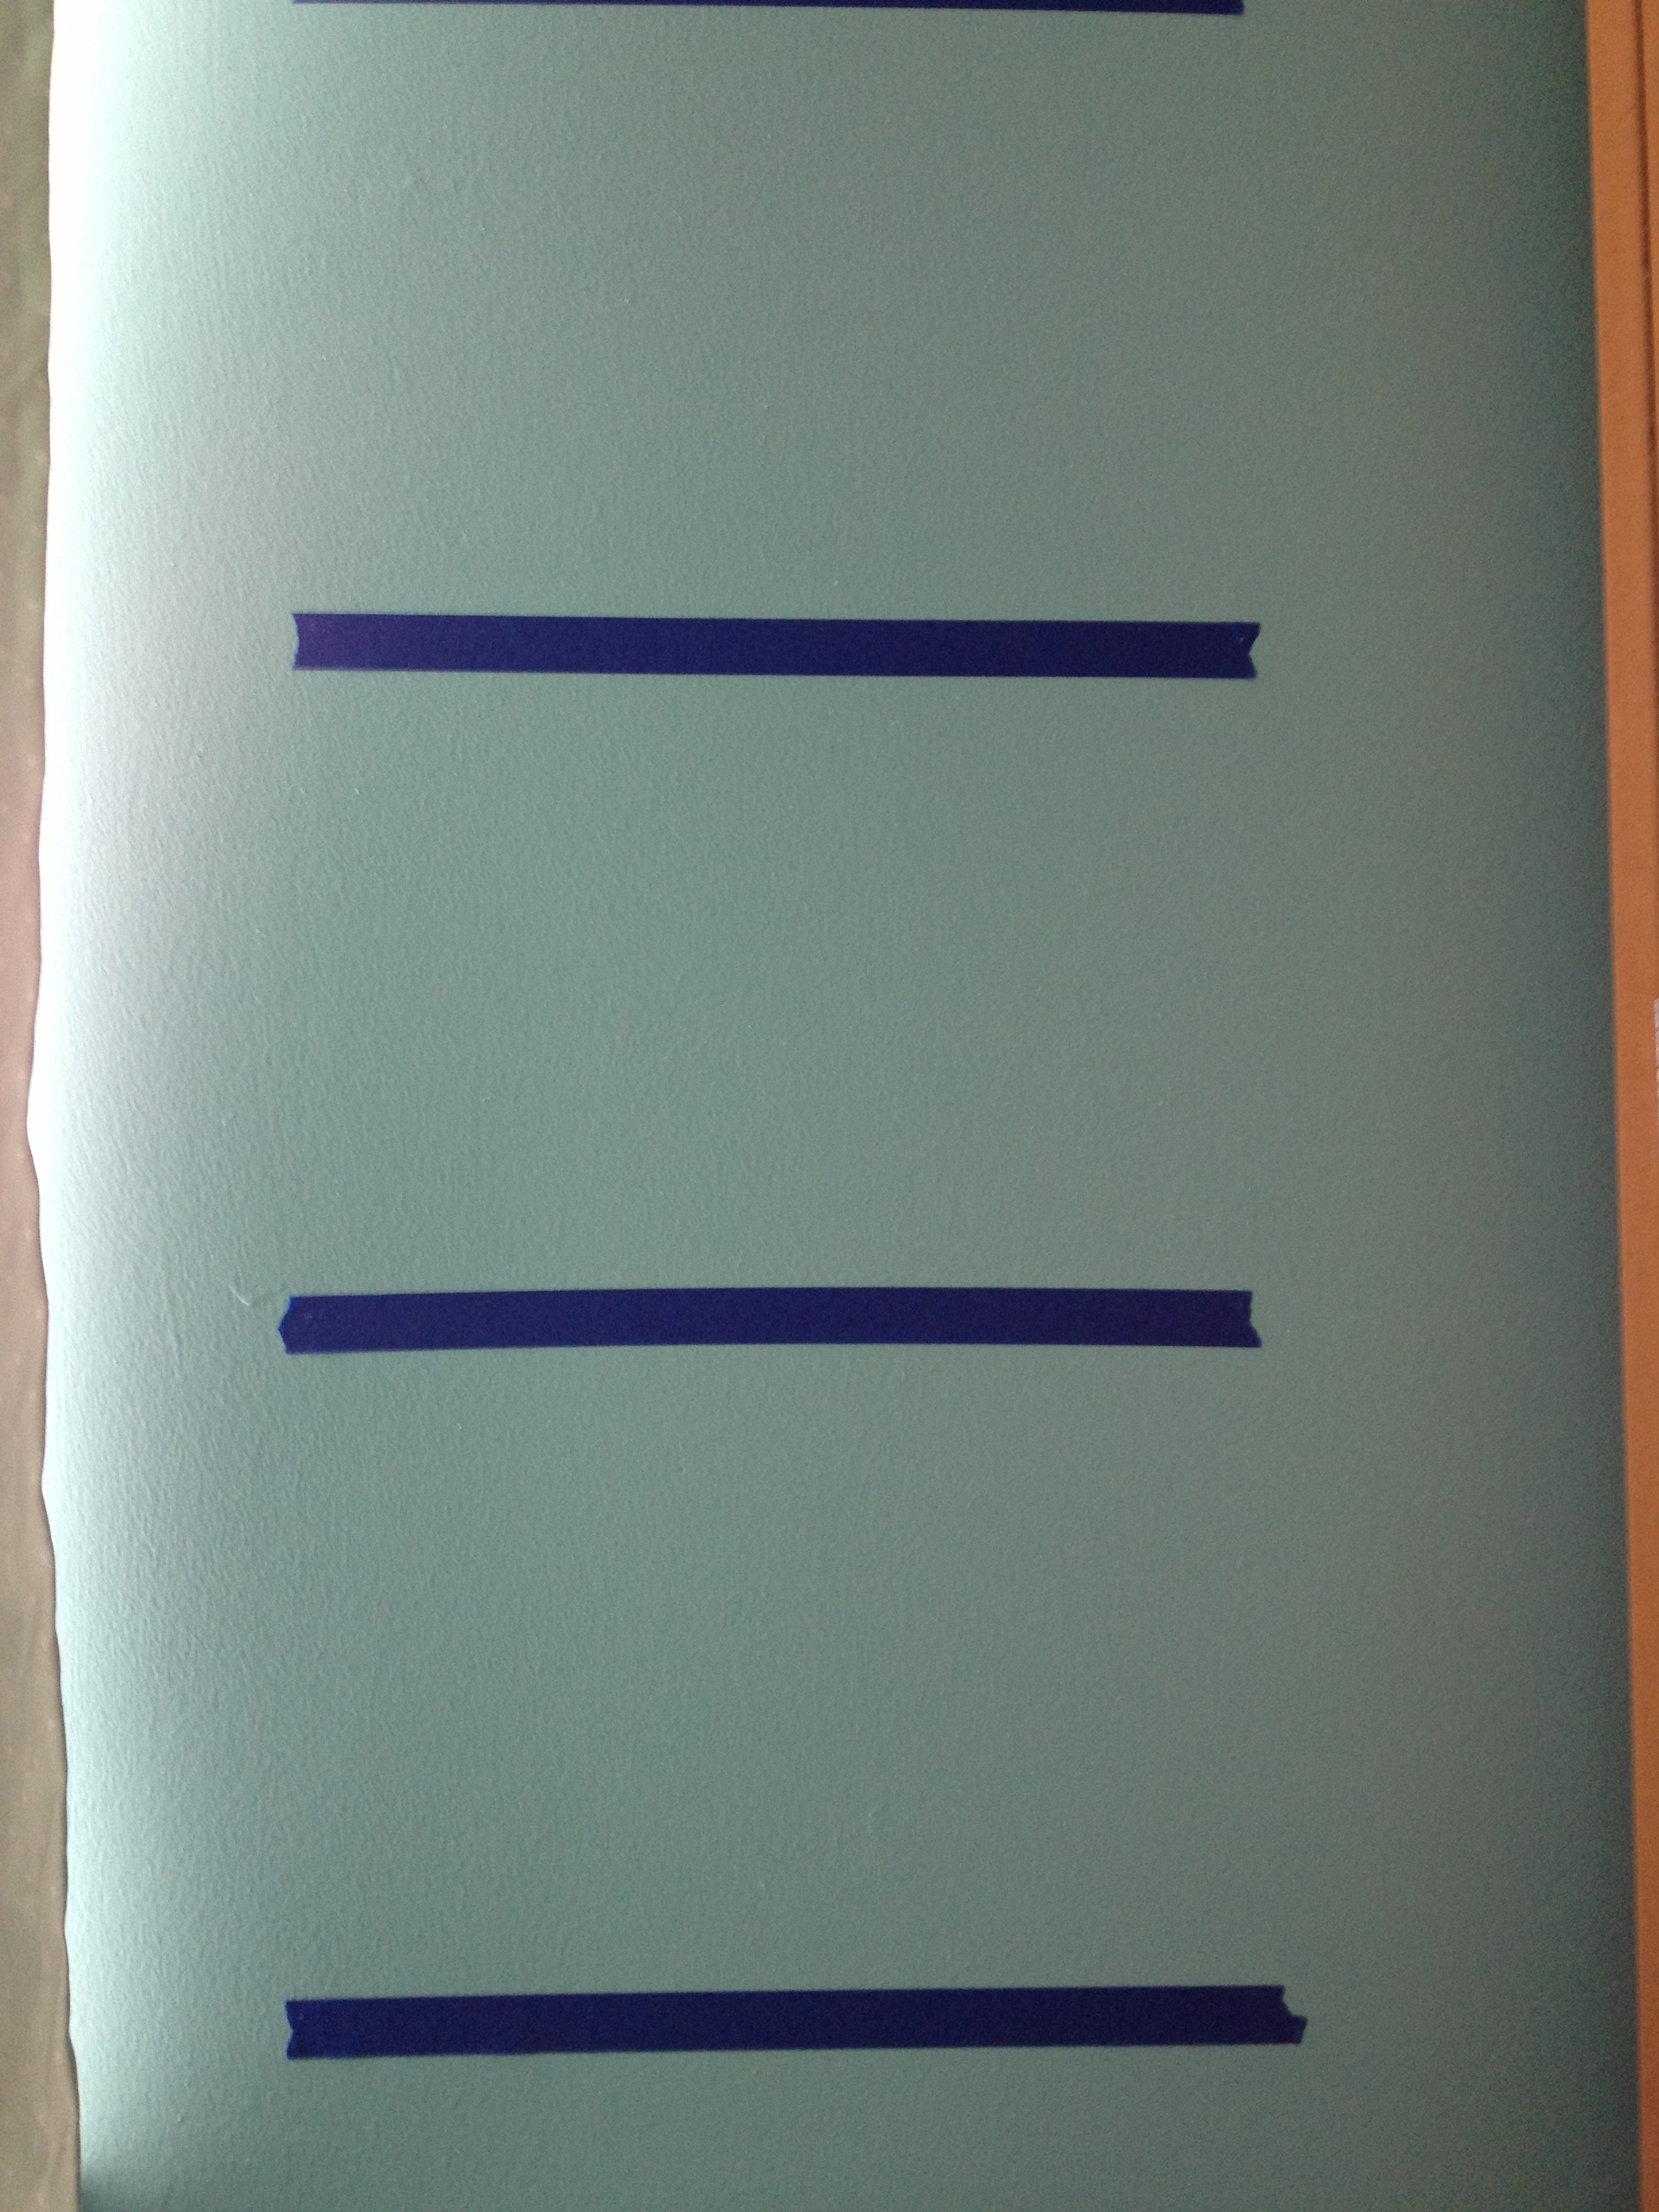
Using the painters tape, you can use a leveler to make sure the picture will be hung straight. Since you can mark the wall through the hole in the painters tape, you can remove the tape before putting your anchor and screw into the wall.
Now I can’t wait to get our bookshelves hung and make a cozy little “reading corner” in our nursery!


2 Responses to 15-Minute Project: Marking Pictures to Hang